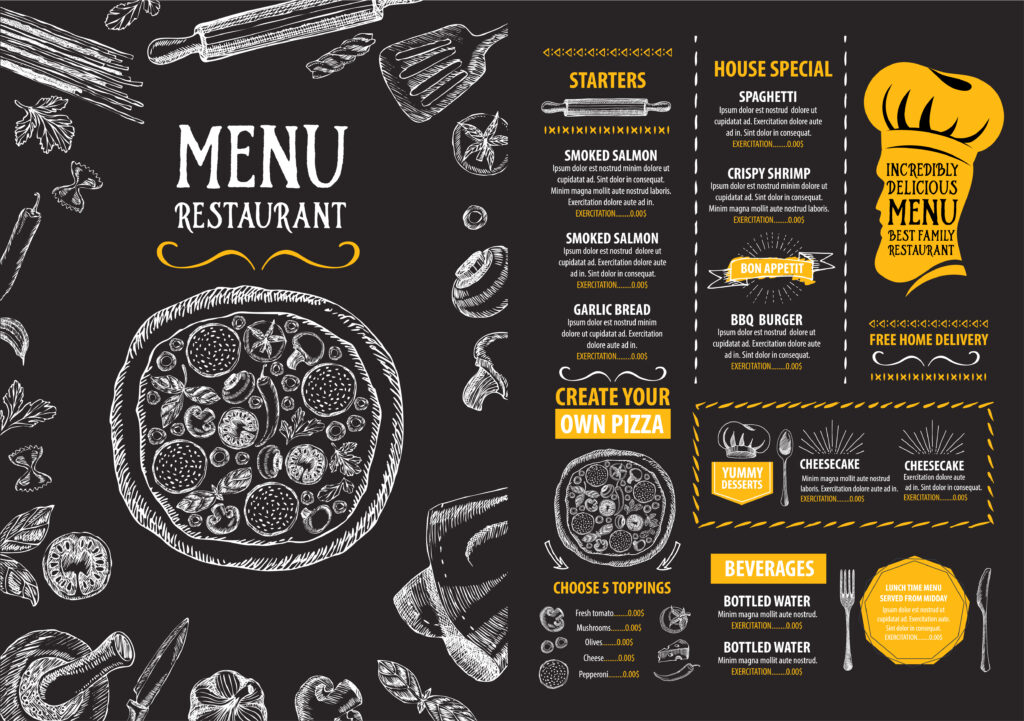
There are a lot of different approaches when it comes to creating a restaurant menu. Some restaurants provide their customers with nothing more than a photocopied half sheet of paper with the daily specials, while others provide a hardbound book listing hundreds of choices. Everything about a menu, from the way each plate is described to the type of paper used in the printing, has something to say about the restaurant. That’s why many large chain restaurants have entire marketing departments dedicated to creating and updating their menus.
However, if you own or manage a smaller establishment, creating or redesigning the menu is your responsibility. While the task can seem daunting, it can be relatively easy to put together and publish a menu if you go about it methodically. At Custom Printing Inc., we have guided hundreds of customers over the years through the process of creating a menu by having them follow a few simple steps.
Consider Your Target Audience
Just like anything else you have written or created, building a menu will require you to first think about who is going to read it. Are your customers sophisticated diners who are expecting luxury or down-to-earth people who want good basic food?
Who you’re designing your menu for will be a significant factor in making decisions throughout the rest of this process. When you need help deciding which way to go on a design choice, consider which one would be more appealing to your customers.
By the way, restaurants with very diverse customer bases may create several different menus. While it may be tempting to do this to solve immediate design problems, the truth is that different menus can be very confusing for staff and customers. If you want to go this route, consider creating a single base menu, then adding shorter menus for different seasons or times of the day.
Build Your Offerings
Next, start working on a list of all of your menu items and their descriptions. At the beginning of the process, it often helps to create a spreadsheet of each menu item that shows key information such as ingredients, production price, and menu price. Before going on to the next step, ensure that this list includes everything your restaurant offers, even if the offerings are only seasonal.
Using this list, start grouping items together by categories, such as appetizers, desserts, entrees, and beverages. After everything has been assigned a section, start creating descriptions for each item on your menu.
Each description should be tailored to its target customers. More expensive offerings need more detailed descriptions that are designed to entice customers, while items with lower profit margins may only warrant a cursory description.
Decide On A Presentation And Layout
After you have a description of each menu item, it’s time to start thinking about how these items will be presented to the customer. This is often the most time-consuming part of the design process but can also be the most important.
Start by deciding on some of the basic details of the menu, such as the number of pages and its overall look. A casual restaurant should stick to a single-page menu with simple descriptions and bright colors. A fine dining establishment, on the other hand, may choose to use multiple pages, more subdued colors, and fancier fonts.
It can be easiest to start with the basic categories such as appetizers, entrees, and desserts. Typically, menus list these three categories in the order customers will consume them throughout their meal. For longer menus, each of these sections should have its own page. It is a good idea to place appetizers in the top left corner on single or double-page menus, while main courses should be placed near the middle. This allows people to see the main selections first, then add appetizers, beverages, and desserts as their eyes move around the page.
It may make sense to group some items together and market them as a base offering with a list of additional options. A typical example of this is burgers. Rather than list out every possible combination of topics and ingredients, some casual restaurants choose to give their customers a detailed description of the meat and bun, then list out every option from cheese to guacamole as additional options.
Be sure to mark menu items that meet specific diets, such as gluten-free, kosher, or high-protein selections. Also, be sure to label allergens clearly in each selection.
Consider the creation of specialty menus for desserts and beverages. Not only do separate menus highlight these items, but they also make it much easier for servers to introduce them to customers after the main menus have been taken away.
Once all of these details have been worked out, it’s time to consider the final details in the overall presentation of the menu. For multi-page menus, this means designing the cover, while more casual menus may only need to have a heading and border designed. This part of the design process can involve a lot of decisions. The cover of a menu is often the very first thing that customers see when they sit down.
After this part of the menu has been designed, it’s time to finalize the design. Ideally, get only one trusted person to review the menu. Having many people involved in the review process often leads to everyone offering a different opinion, which, more often than not, stymies the design process.
Finally, decide on details such as whether or not the menu will be laminated, if the menu will have a cover, and how many copies of the menu will be needed.


