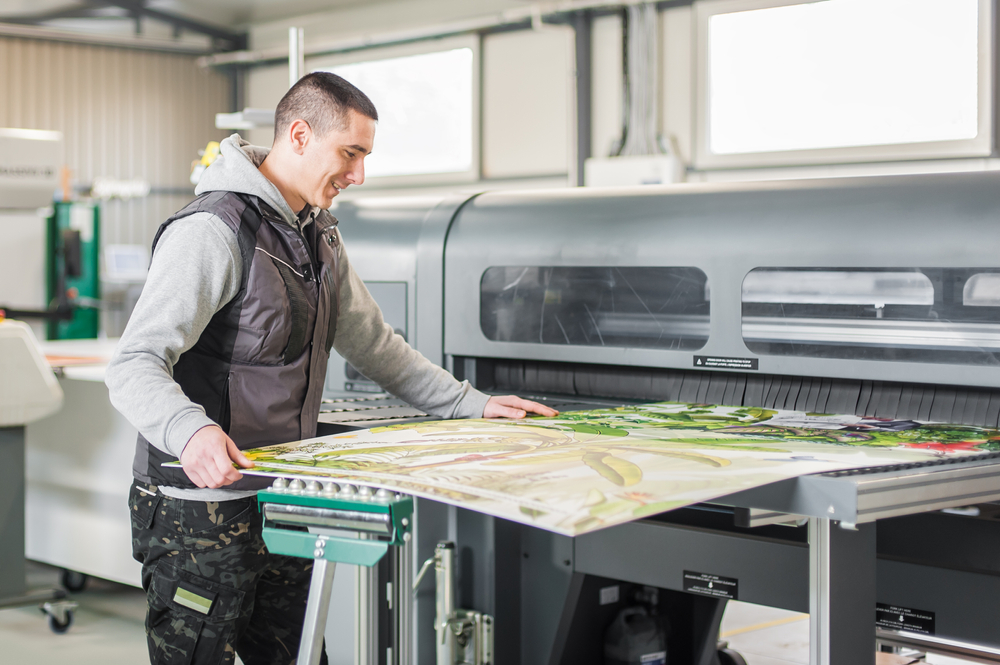
For many years, custom poster design was only for artists with a large enough fan base to justify the time and cost of running a batch of poster-size prints. However, poster printing has become a lot more accessible, allowing artists with smaller followings, educators, and business executives the ability to create customized posters. If you don’t have much design experience, making your own poster can seem intimidating. Follow these steps to ensure that you get the result that you want.
Step 1: What do you want to make?
The first step to creating a poster is clearly defining what you want to convey. Sometimes, this is fairly simple, especially if the poster is informational. If you need help with this step, start by writing down the information that must be conveyed. Next, consider what is most important and what you want to draw attention to.
Step 2: Draft an outline
Once you know what you want to convey, it’s time to organize the information. Creating an outline for a poster organizes the information and allows you to decide how the information will be placed on the poster.
Don’t worry about fonts, colors, or graphics at this point in the design process. Instead, focus on how the information will be displayed. This will ensure that the poster conveys everything it needs to express to the people viewing it.
At this stage in the design process, adding more information or moving text and graphics blocks is relatively easy. Ideally, settle this part of the design process before moving on. If you have to go back to this step, it will affect a lot of other elements of the poster design.
Step 3: Decide on your design
As soon as you have a basic design in mind for your poster, it’s time to start thinking about your design elements. Now is the time to think of a color scheme, fonts, and type size. Consider the poster’s intended audience and where it will be displayed.
For example, a poster meant to advertise an upcoming event may want to use bold and bright colors and a font that is large and easy to read. However, educational posters intended for a classroom will likely use smaller fonts to include more information. Colors could be muted so as not to clash with other items in the class or be too distracting to the students.
Step 4: Add your images
Many people are surprised to learn that they should wait until this part of the design process to add images. This is because the images should have a strong correlation with the rest of the poster.
Adding images at the beginning of the design process usually results in text designed around the pictures. This usually means that the poster has more to do with the pictures and doesn’t convey the information it should.
By starting with information, it’s almost guaranteed that the correct information will be conveyed and that the images will enhance and draw attention to the important information on the poster.
Of course, be sure to consider your audience when selecting graphics. Ideally, keep graphics to family-friendly pictures, even if the advertised event is not. This will ensure that your posters will not be removed from any location where they are hung and allow for the posters to be more widely distributed.
Also, be sure to obtain the proper copyright permissions for any photos, diagrams, or other graphics you use. This is especially important if your poster will be displayed in public areas or available for commercial sale.
Step 5: Add your information
Once you have a good idea of what the poster will look like, it’s time to add the information that you want to convey. While some posters may not need a lot of text, others may require paragraphs of information. Take the time to research and error-check this information.
Step 6: Error check
Once you have completed the design for your poster, walk away from it for a few minutes and do something else. Come back to it after you feel you can assess it critically. When error-checking the poster, consider the following:
- Can you read critical information from twenty feet away?
- Do you know the basic theme of the poster within the first second of seeing it?
- Is all of the information (including dates and times) correct?
- Do you have permission to use all the graphics on the poster?
- Is everything spelled correctly?
Once you feel the poster is ready to be printed, ask a close friend or coworker to review it and ask them the questions on this list. Avoid asking for a general opinion or questions such as “Do you like the pictures?”
Creating a poster can be an art, and it is common for everyone to have a different opinion about art. The result is that when you ask people for general opinions, you’ll end up with many different responses that can start a cycle of redesigning and asking for more opinions.
If you follow the steps of this process, then you’ll know that your poster is conveying what you want it to say. Concentrate on getting it printed, then gauge customer response to the poster.
Once your poster has been developed, it’s time to look for a print shop to create exactly what you have designed. If you’re looking for a print shop with years of experience in this type of printing, visit Custom Printing.


